If you are even a little arty and crafty there is no reason not to reduce the cost of your wedding. Your friends and family will love receiving something thoughtfully home made, it becomes a happy memento of your great day. The folks at Tindalls have been beavering away testing products in order to try and save you some precious time and pennies. This will be a series of DIY wedding ideas so check back regularly.
Anything that you do not fully understand how to do we are more than happy to help with – just get in touch.
What you will need to make DIY wedding invitations/save the
dates:
It can be a bit daunting to know what sort of pen will work on certain papers and what type of nib works best for certain fonts so we have done some testing for you to make it a bit easier for you to make up your mind.
A really good go to pen would be a fineliner. They come in
various sizes ranging from 0.03mm to 1.2mm so you can achieve incredibly thin
lines for fine detail but also have the width variety to create solid, thick
lines. Fineliners tend to be archival and waterproof which is handy if you are
using watercolours over the top as they will not smudge which allows you to add
decor and colour to your invite once you have laid down your line work. Using a
fineliner you can also create faux brush letters. By writing in a cursive font
and then thickening your down strokes and filling that in it gives the illusion
you have used a brush pen but are simply making the most use of a fineliner.

If you prefer to use a brush pen for the lettering then a
Tombow pen is a great idea. They come dual ended so you have a brush end and a
small bullet tipped end. This means you don’t necessarily have to spend out on
buying another pen for finer writing if you are conscious of what you are
spending. Tombow pens are available in lots of different colours and the
fineliners do come in a smaller selection of colours but there is some
variation.

With the pens for the text covered, a pen I found essential as
an addition for embellishing the invites was the Sakura gelly roll pen in
white. I love the 08 size and use mainly that, however the 10 pen is also
great. I find that the finer 05 pen is not really a pen I prefer to use as it
is just so thin. The gelly roll pen is brilliant for highlighting. It comes out
bright white on every colour paper and I have found the flow of the ink is much
better than other white gel pens I have used in the past.


As you can see a simple highlight really does make all the
difference and at only £2 a pen they are well worth investing in. The white pen
also looks really beautiful on brown kraft card so if that is the kind of look
you are going for for your wedding invites we would really recommend this pen.
You can buy a set of 3 of the same size for £5.75 so there are no worries about
the pen running out on you midway through your invites.

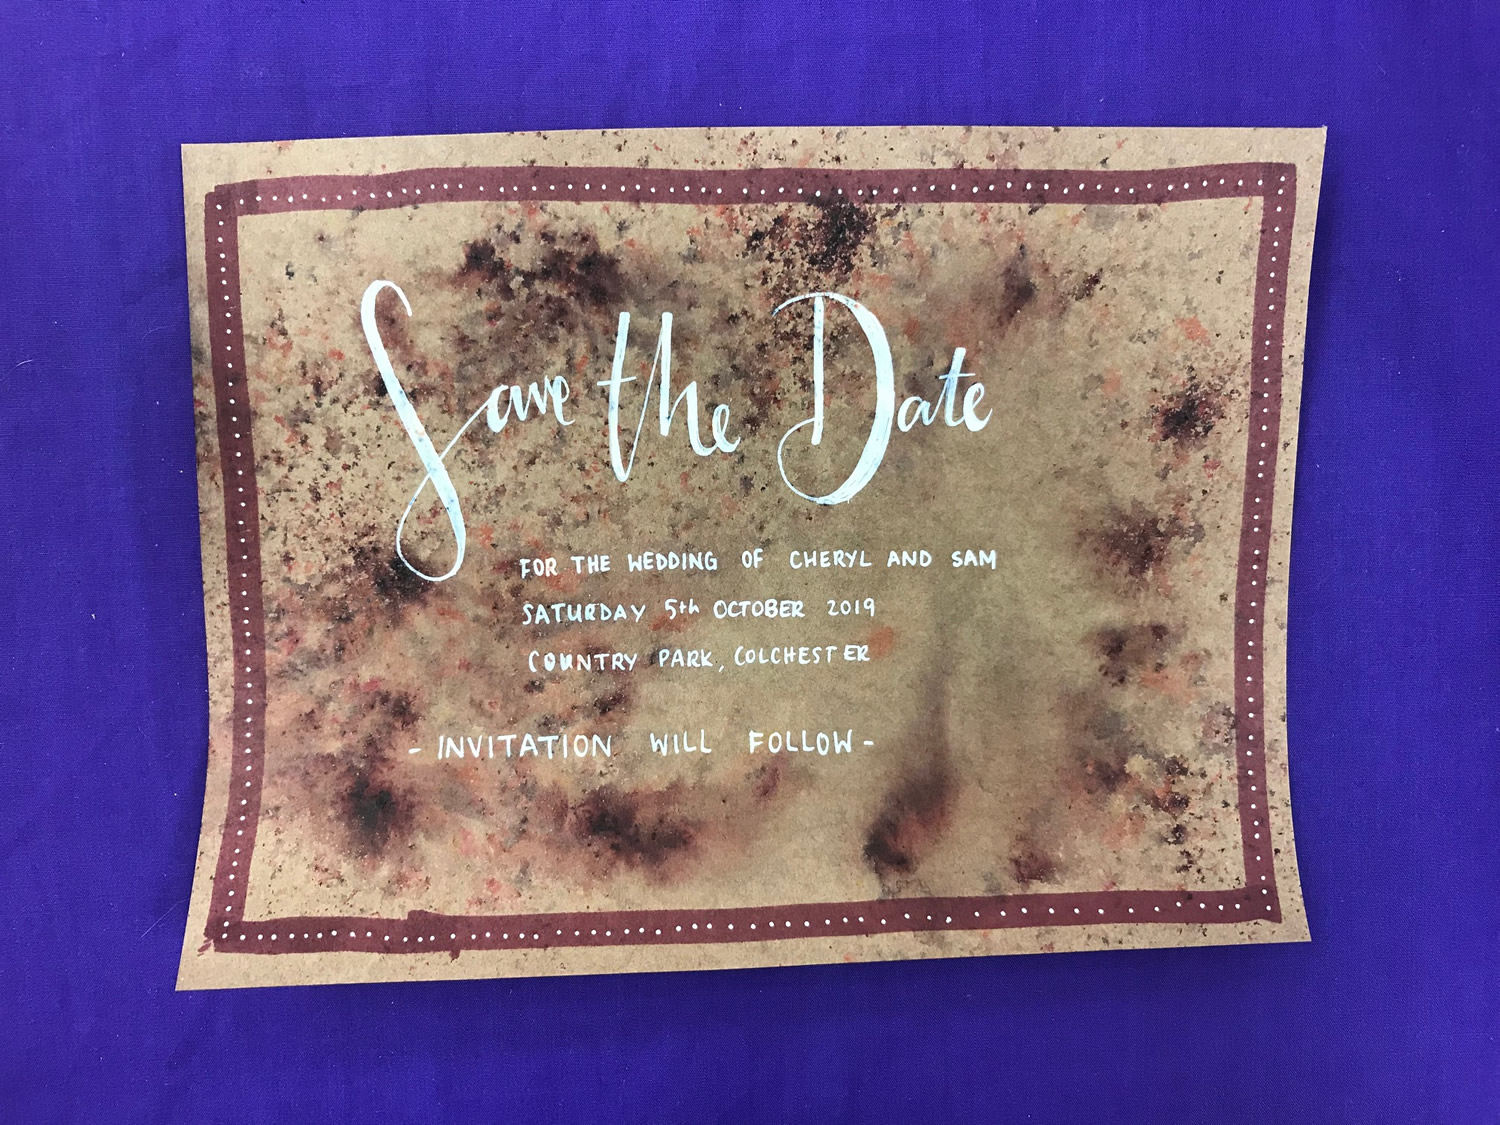
To decorate this Save the Date we used the white sakura
gelly roll with a fineliner to add a bit of definition and then some Promarkers
to add colour. In general Promarkers will bleed unless they are used on
specific marker paper but with some papers you can get away with using them
without it bleeding too much. On the kraft card they tend to work fairly well
and because they have a great colour variety.
Using Brusho to add a splash of colour to your invite/save
the date works really well. Brusho is a powdered form of paint activated by
water and will last for a very long time (I have had pots for over two years
now, use them constantly and they are still almost full)! A little really does
go a long way. We would recommend you add Brusho to paper first and then go
over the top with pen to add your text and embellishments as that way you can
make sure you are happy with the way the Brusho comes out as opposed to
spending lots of time on your lettering and then you do not like the way the
Brusho has dried on the paper.

Using limited supplies you can create some wonderful and
unique invites for your guests. Visiting Instagram or pinterest is great for
getting ideas you could incorporate into your design. If you want to keep the
design the same then simply leave the guest name off and get the invite scanned
and printed to save you hand doing every single one. The name can be added to
each individual design at the end and will save you a lot of time.

